These instructions will XAMPP set up, which stands for Cross-Platform, Apache, MySQL, PHP, and Perl.
Download XAMPP Download the appropriate XAMPP installer for your operating system (Windows, macOS, Linux) by visiting the official XAMPP website (https://www.apachefriends.org/index.html).
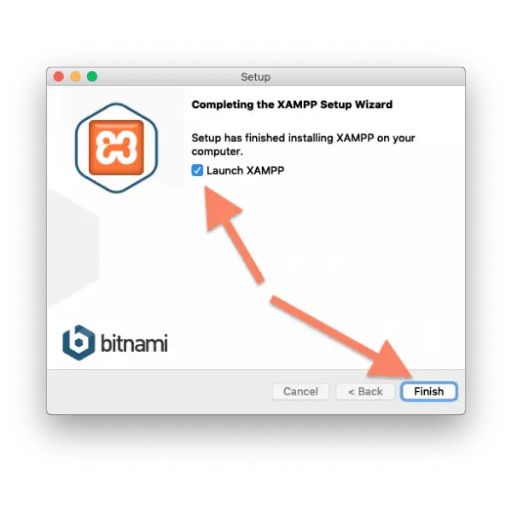
Run the Installer
- In Windows, double-click the installer file (.exe) that you downloaded, then follow the wizard’s instructions for installation. For installation, you might need to grant administrator rights.
- On macOS: Drag the XAMPP icon to the Applications folder by opening the downloaded.dmg file.
- On Linux: Launch a terminal, go to the downloaded installer’s directory, and execute the installer with the necessary rights (typically sudo./<installer_file>).
Start XAMPP
- On Windows: Double-click the desktop icon of the XAMPP Control Panel or look up “XAMPP Control Panel” in the Start menu to launch XAMPP after installation.
- On macOS: Launch XAMPP by opening the Applications folder in the Finder. Click “Start All” after selecting the “Manage Servers” tab to launch XAMPP.
- To start XAMPP on Linux, open a terminal and type sudo /opt/lampp/lampp start.
Verify Installation
- Open this link http://localhost/ or http://127.0.0.1/ to your browser. If XAMPP is installed correctly, you should see the XAMPP dashboard.
Configure XAMPP (Optional)
- With the XAMPP Control Panel, you may set up Apache, MySQL, PHP, and other components. You can, for instance, set up MySQL databases, adjust PHP settings, and modify ports.
Start Developing
- You can begin building and testing your web apps locally by putting your files in the htdocs directory, which is found in the XAMPP installation directory, once XAMPP is installed and operating.
Stop XAMPP (Optional)
You can use the following instructions to stop XAMPP or just close the XAMPP Control Panel
- Close the XAMPP Control Panel on Windows.
- On macOS: Click “Stop All” under the “Manage Servers” tab after opening XAMPP.
- Use the terminal to type sudo /opt/lampp/lampp stop on Linux.
And that’s it! Your machine now has XAMPP set up successfully.
